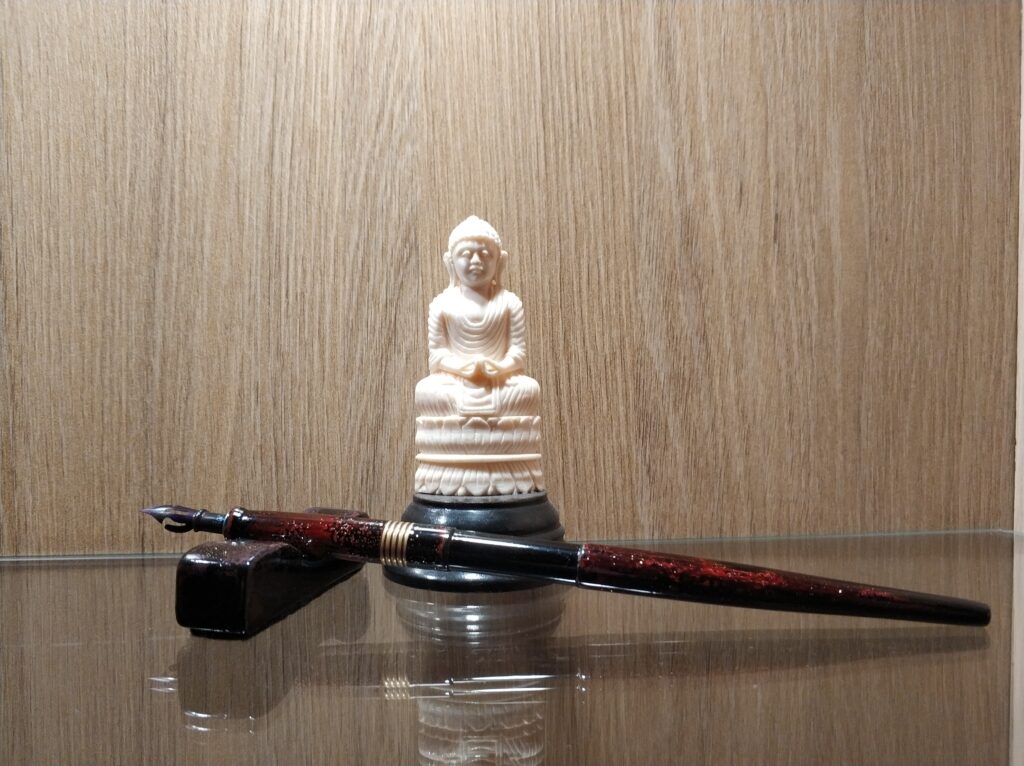
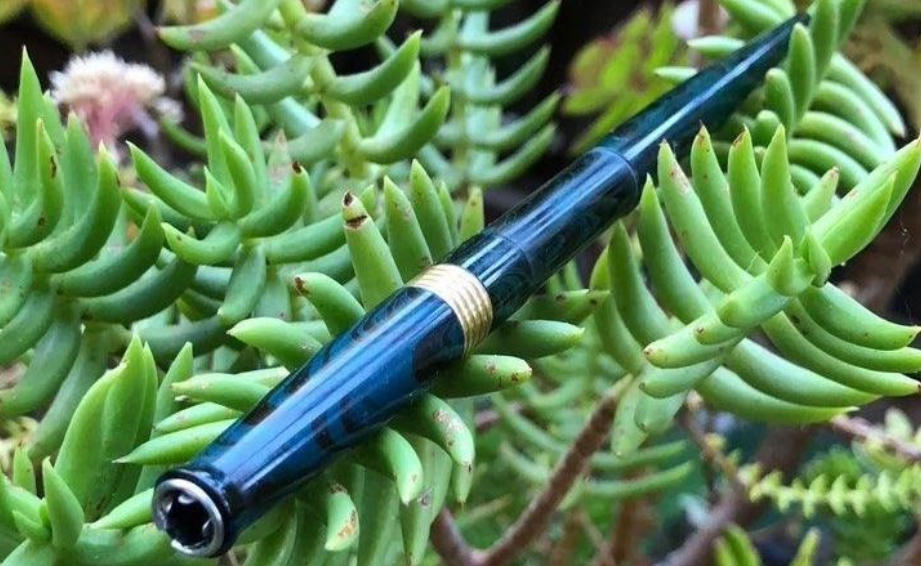
Custom Urushi project for Ebonite Calligraphy Holder
[Word: a unit of language, consisting of one or more spoken sounds or their written representation, which functions as a principal carrier of meaning]
The word was still floating around the room, just spoken but already on the way to oblivion. Knowing that the meaningful power could be lost forever, she looked bewildered. This word was too important to disappear in the moment, vanished for future generations.
Suddenly she saw the rare instrument on the table. She remembered some old childhood pictures of men using such instrument to capture the essence of a word. But this magical science wasn’t used anymore. Just a handful whimsical dangerous hermits in the mountains probably still knew how it worked. Despite of her initial fear, she straightened her back and walked to the table. Anxiously, she picked up the instrument, which looked like an odd deformed small metal rod. A tingling warm feeling overpowered her when she felt the true cosmic force of creation that laid deep within the instrument. Almost all her memories felt void when she suddenly realised what she had missed during her life up to that day.
After years of self-study she started to enlighten others, reintroducing the power and joy of writing. Now, three decades later, that frightened women was appointed as Rīdā Penfluencer, Master in the science and craftsmanship of writing, Educator of the people. Notwithstanding the honour of her title, she humbly remembers that one moment that she first touched the urushi coating of the ebonite dip pen holder.
What is urushi?
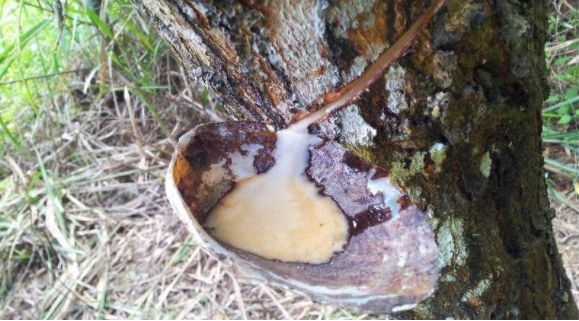
I’ll try to keep it simple, because there isn’t just one true meaning. In global, urushi is a way of protecting objects by applying a natural lacquer that is harvested from the urushi tree. The urushiol and laccase in the lacquer polymerize with the moisture from the air. With the right ambient conditions it hardens to a chemical and heat resistant coating. This process is called curing of the urushi and takes about 20 to 24 hours in optimal conditions.
To create the optimal curing conditions the just lacquered pieces are often put in a muro. Muro means literally ‘room’ an is a closed space with regulated high humidity and must be dust free to avoid irregularities. This can be a separated part of the room, a cupboard or some kind of box.
Urushi can be applied in different ways and consist most of the time out of different layers. The final result depends on the way in which the urushi is applied, this can be by rubbing in, fine brushed layer, thick brushed layer…. and the kind of urushi-refinement used. Also the use of additional components is possible like colouring pigments, metal powders, clay powder, fabric, vegetable oil…
The Osprey dip pen holder project
The reasons why I started with urushi and what my final goals are, are less relevant for the moment. Maybe later, I can tell about this.
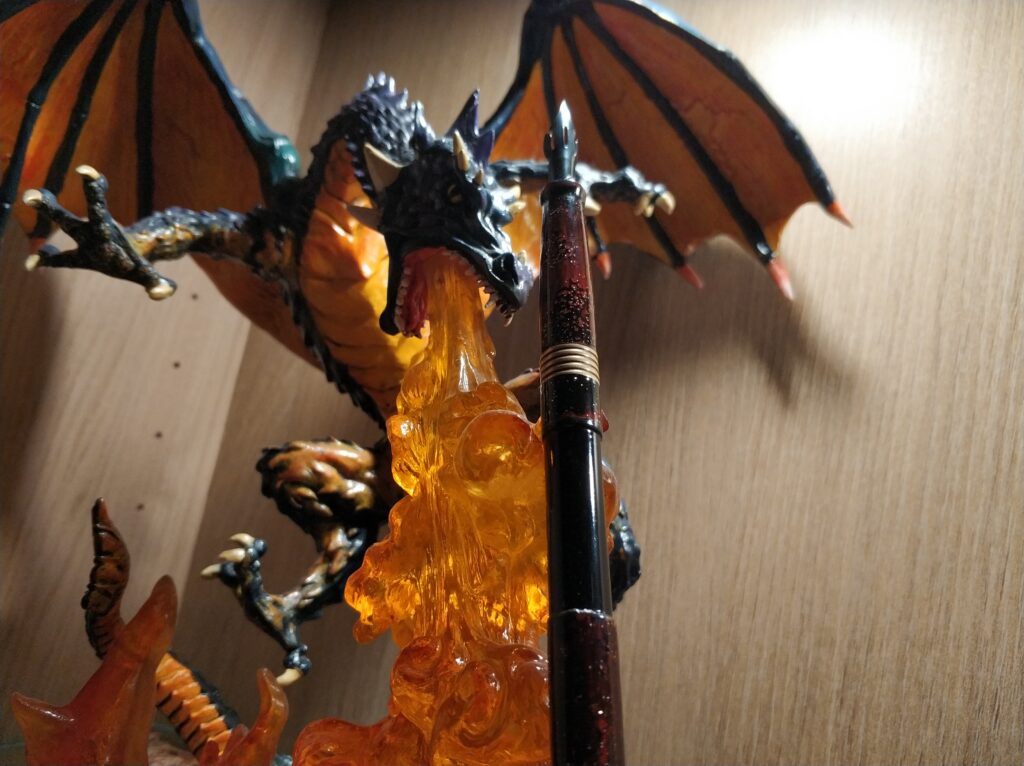
So I got this ebonite dip pen holder from Abhi and it was already awesome and perfect. Still I thought it would make a great object to train my skills in the art of urushi. First of all because ebonite is one of the best materials to decorate if you aren’t a trained Master. Well turned and sanded ebonite gives you a perfect even surface without any grains/fibres and just a bit of porosity. This combination makes that no special basecoats are needed to even the surface or to get a good adhesion.
Before starting with the urushi process, I wet sanded the holder with a 1000P sanding paper, mainly to get off any residual oil that was used during turning or polishing.
Basecoats
For the basecoats, a rather raw filtered urushi is often used. But as it is a hobby for me, I don’t possess all different grades of urushi lacquer and used more purified forms. This can be an uncoloured or a coloured version. I used different kinds, because it doesn’t really affect the final result.
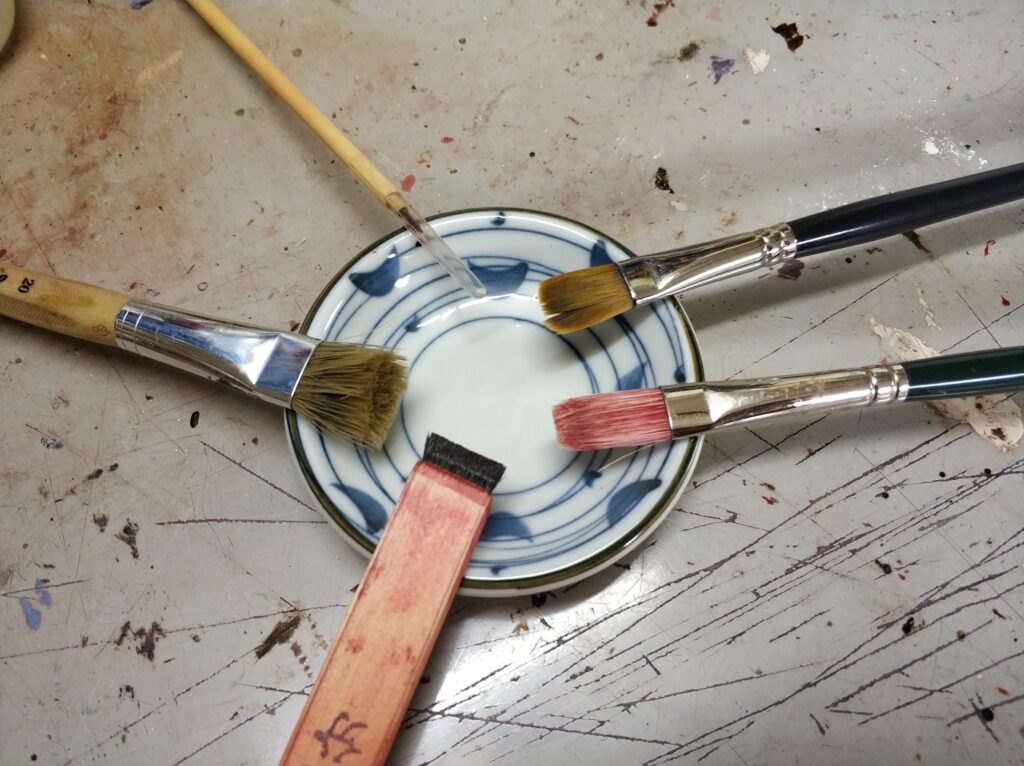
For application of the 5 basecoats I used a standard paint brush for oil painting. Traditionally, all coats are done with a Hake brush. The price of these brushes is rather high, so I use my Hake only for the final coats. At this stage every layer is wet sanded with a 2400P sanding paper, so a lesser finish or some minor irregularities by not using a high-end brush can still be removed.
Still in this stage it is important to apply in very thin layers. If you apply a bit too much, the urushi cures irregular. This can’t be corrected with the next layers and the whole layer must be sanded off.
As the ambient condition in my workplace are not optimal, I use a simple plastic box as muro.
Under in the box are some concrete stones with a plastic plate on top. When I pour water in the box, it will evaporate and create the needed humidity.
Middle coats
While the colour of the basecoats isn’t important, it becomes something to think about for the middle layers. All depends on the final result you want to reach.
I went for 8 layers of red coloured Kijiro-urushi. After each layer was cured it was wet sanded with a 3600P sanding paper.
Decoration and topcoats
I started the final stage with a red Kijiro-urushi. After I applied the coat, the holder was put aside for 1 hour. Then I sprinkled some plastic ultrafine sequins from Rayher over the holder and about 1 hour later I placed it in the muro to cure.
Afterwards 2 layers of black coloured Kijiro-urushi were applied. All was sanded back with 2400P sanding paper to get an even surface. Then another 2 layers were applied and final sanding was done.
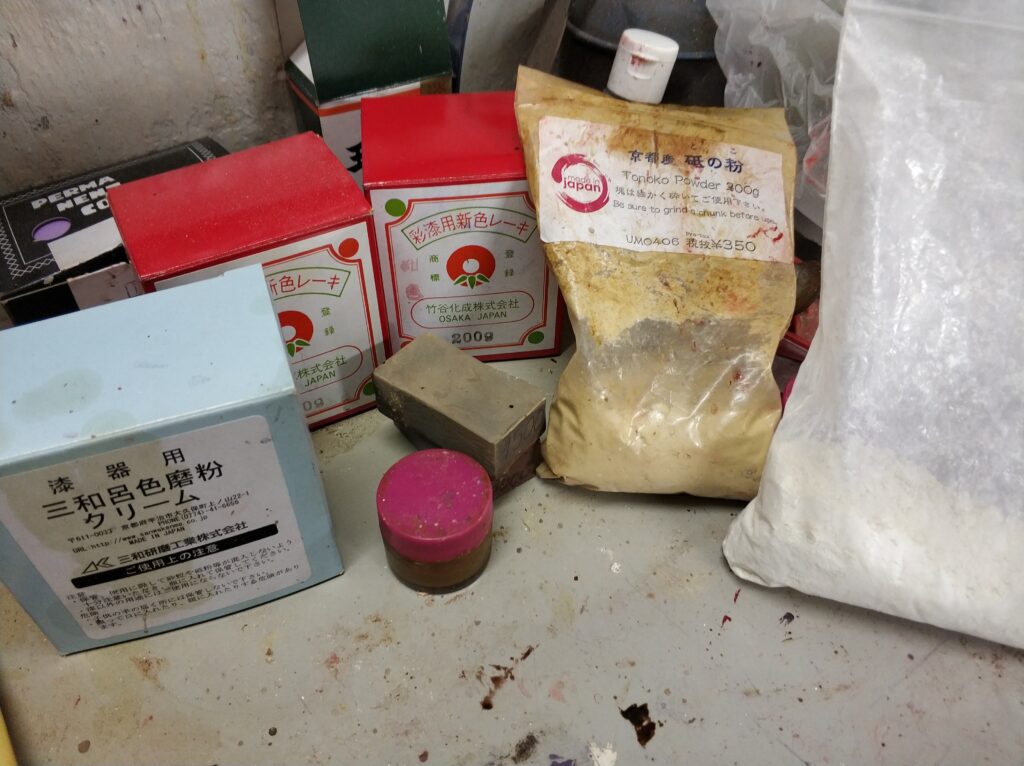
This final sanding started with 2400P, at this stage you choose what parts will show the top layer and what parts will show the shimmer of the sequins. On purpose I sanded some areas even further down to give an old and used effect. Once this is done, the sanding goes on with 3200P, 3600P, 4000P, 6000P and 8000P. Final stage is a sanding done with Tonoko powder mixed with rapeseed oil.
Finishing
After all the sanding the penholder looked matt. This is normal because I used oil-free kinds of urushi. If I had used an urushi mixed with linseed oil for the final layer, than the whole final sanding and finishing process isn’t necessary. Downside of an oil containing urushi is that the oil weakens the layer and give you a nice shiny, but less hard layer.
To get the gloss back a finishing by Uwazuri is done. This means that you put on a layer of urushi and whip it off completely with a paper towel. You let it cure for 24 hours and repeat this process several times. By doing this you fill the micro-pores and micro-scratches.
After 8 ‘layers’ the lacquer was polished with migako powder. First a mixture of migako powder and rapeseed oil is rubbed over the surface with your finger tips and cleaned off. Then then the same is done with dry migako powder.
For an even better result I repeated this whole process a second time.
