Table of Contents

Restoration of a table top

Fear spurted from her eyes, like hot lightning accompanying the Apocalypse. Breathing fast from the effort she had just made, she stopped. She knew it was not over yet, disaster had not yet been averted. Yet she needed some time to catch her breath, to think clearly again. Later there would be a time to analyse why, but for now she had to survive.

The dark clouds moved on, along with the smell of the destruction she had just escaped. Here in the rock maze she was safe for a while, but it would not be long before her enemies would find her.

She had noticed that these creatures felt better in cities and sandy plains. It even seemed that they went around any kind of plating. Her salvation might lie there. But then she would have to find a way to the mythical forest. A remnant of the old world that had not yet been wiped out by mankind itself.

The commission

After hearing about my urushi work a colleague asked me if I could help her out. She has a Chinese lacquered coffee table with damages on the top and she was wondering if I could repair it.

When I first saw the table I noticed that it had an Asian looking design but was not lacquered with urushi. It rather looked like a cheap replica, certainly looking at the bottom side. Drips of black lacquer showing that is was painted with a kind of spray paint. The paint on the top was covered with a thick layer of varnish for a glossy look.

The main damage was in the varnish. Locally there where up to 2 mm deep scratches and pits. So this had nothing to do with real Urushi restauration. Nevertheless I accepted the challenge and gave it a try.

Preparation

First step was to wash the whole surface and sand back the main crakes in the varnish to remove loose particles and smoothen the edges. This was done with standard sanding paper with a roughness of 400P. While sanding, I saw that there where many minor scratches due to regular use of the table. So I decided to lightly wet sand the whole table top, starting with 800P up to 12000P.

The big scratches and pits where then filled with a mixture of Tonoko clay and black Urushi. After curing for a week these areas where sanded back and got a second treatment with Tonoko and Urushi mixture. Another week later all was fully cured and dry sanded to get an even top (as even as possible).

The whole table was covered with black urushi and the urushi was whipped of with paper towels. The spots with the Tonoko-Urushi mixture got an additional layer of black urushi to saturate it. Two days later the spots where dry sanded lightly and the whole process was repeated a second time.

This process helps to fill in the minor scratches and further saturate the Tonoko so that it cannot absorb water. After all, water absorption is detrimental to the further finishing process.

The real work

After curing and sanding I saw that there would be a big difference between the filled parts and the rest of the table top. Because the original black lacquer was beneath the varnish one would see a difference in depth between the original and restored parts. This gave me only one option, lacquer the whole black part of the surface with Urushi.

After three layers of Urushi, with standard curing and wet sanding between the layers all was wet sanded down in different stages up to 12000P and started the Uwazuri process.


This process includes:

Dôzuri pre-polished with fine Tonoko clay powder and rapeseed oil

– the application of transparent Urushi lacquer that is rubbed into the surface and wiped of completely with paper and cured during at least 24 hours – this is done four times

– intermediate polishing of the surface with Migako powder and rapeseed oil

– another four times the application of transparent Urushi lacquer that is rubbed into the surface and wiped of completely with paper and cured during at least 24 hours between every application

– polishing with Migako powder and rapeseed, whipping all off and final dry polish with only Migako powder and the roughness of your fingertips

After sanding and before dôzuri
Dôzuri pre-polishing
Polishing with migako powder (top: with rapeseed oil – bottom: dry)

The result

The end result is fairly good and my colleague was happy with it. Due to the central ‘golden’ design that couldn’t be overpainted with black urushi, the black parts only got three layers. It would have been better if I could have done five to eight layers, but then there would be a like an edge between the restored black parts and the design.

More To Explore

Ebonite Calligraphy Holder

Osprey Urushi project

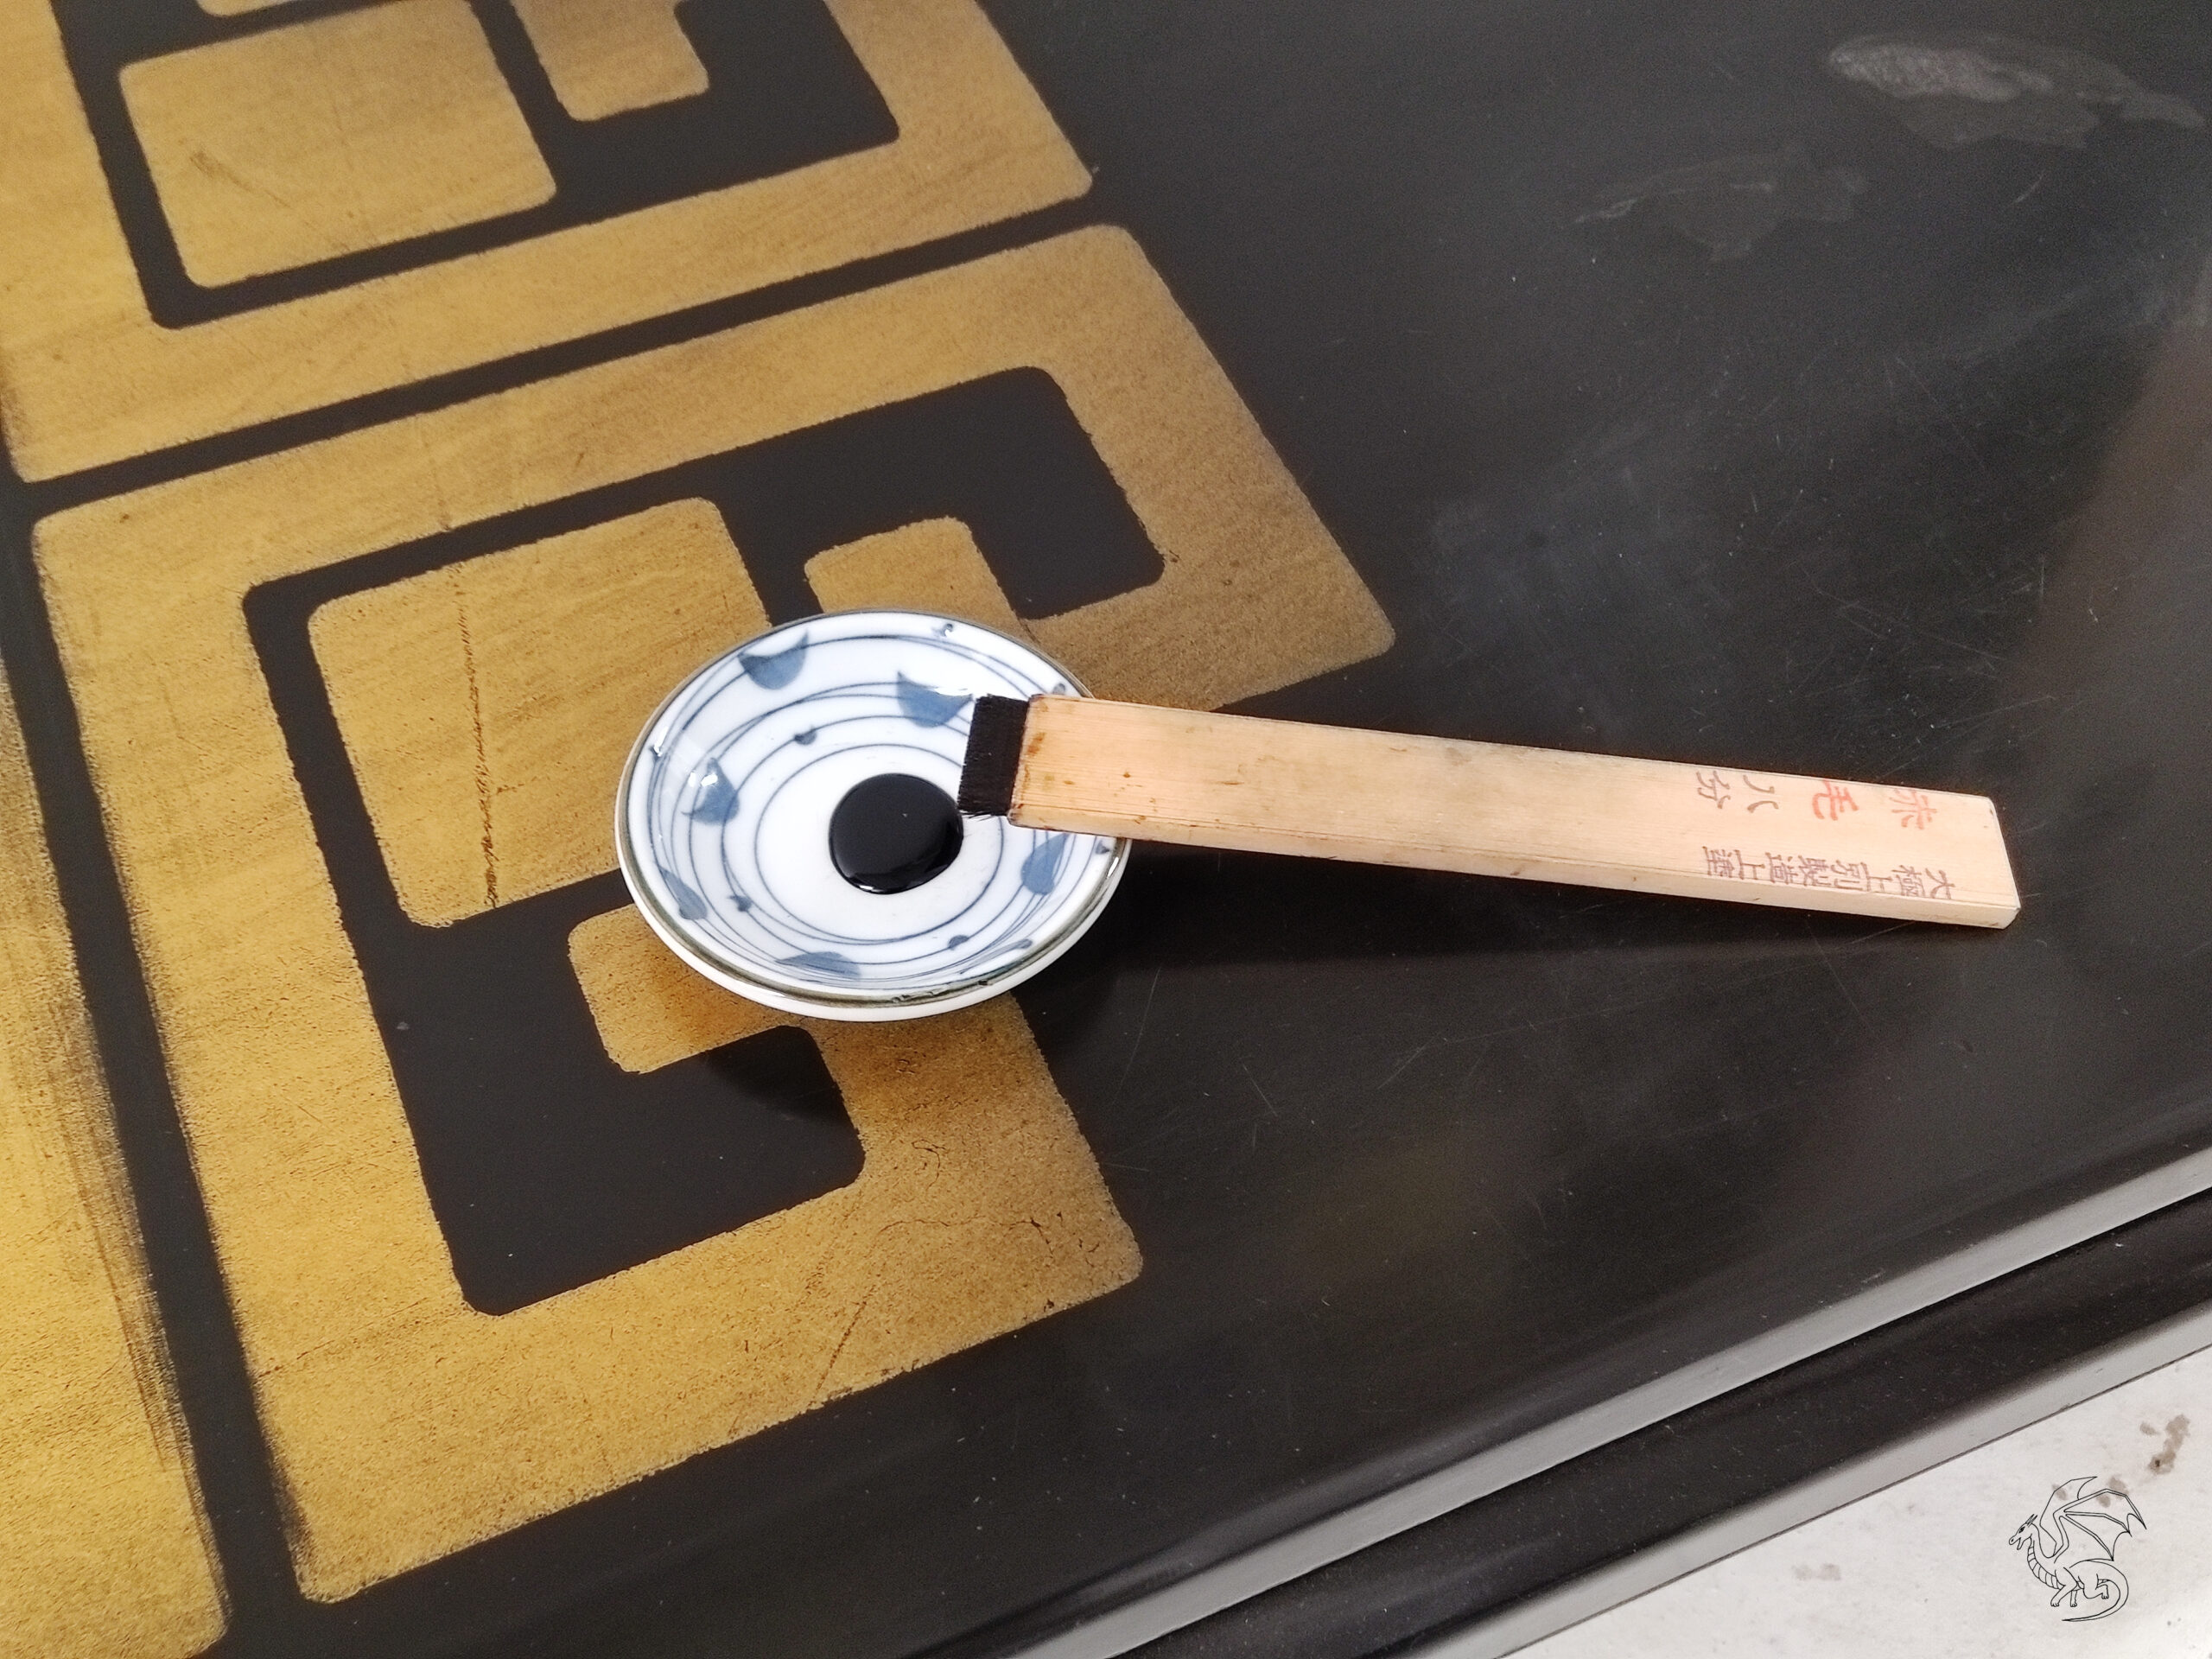
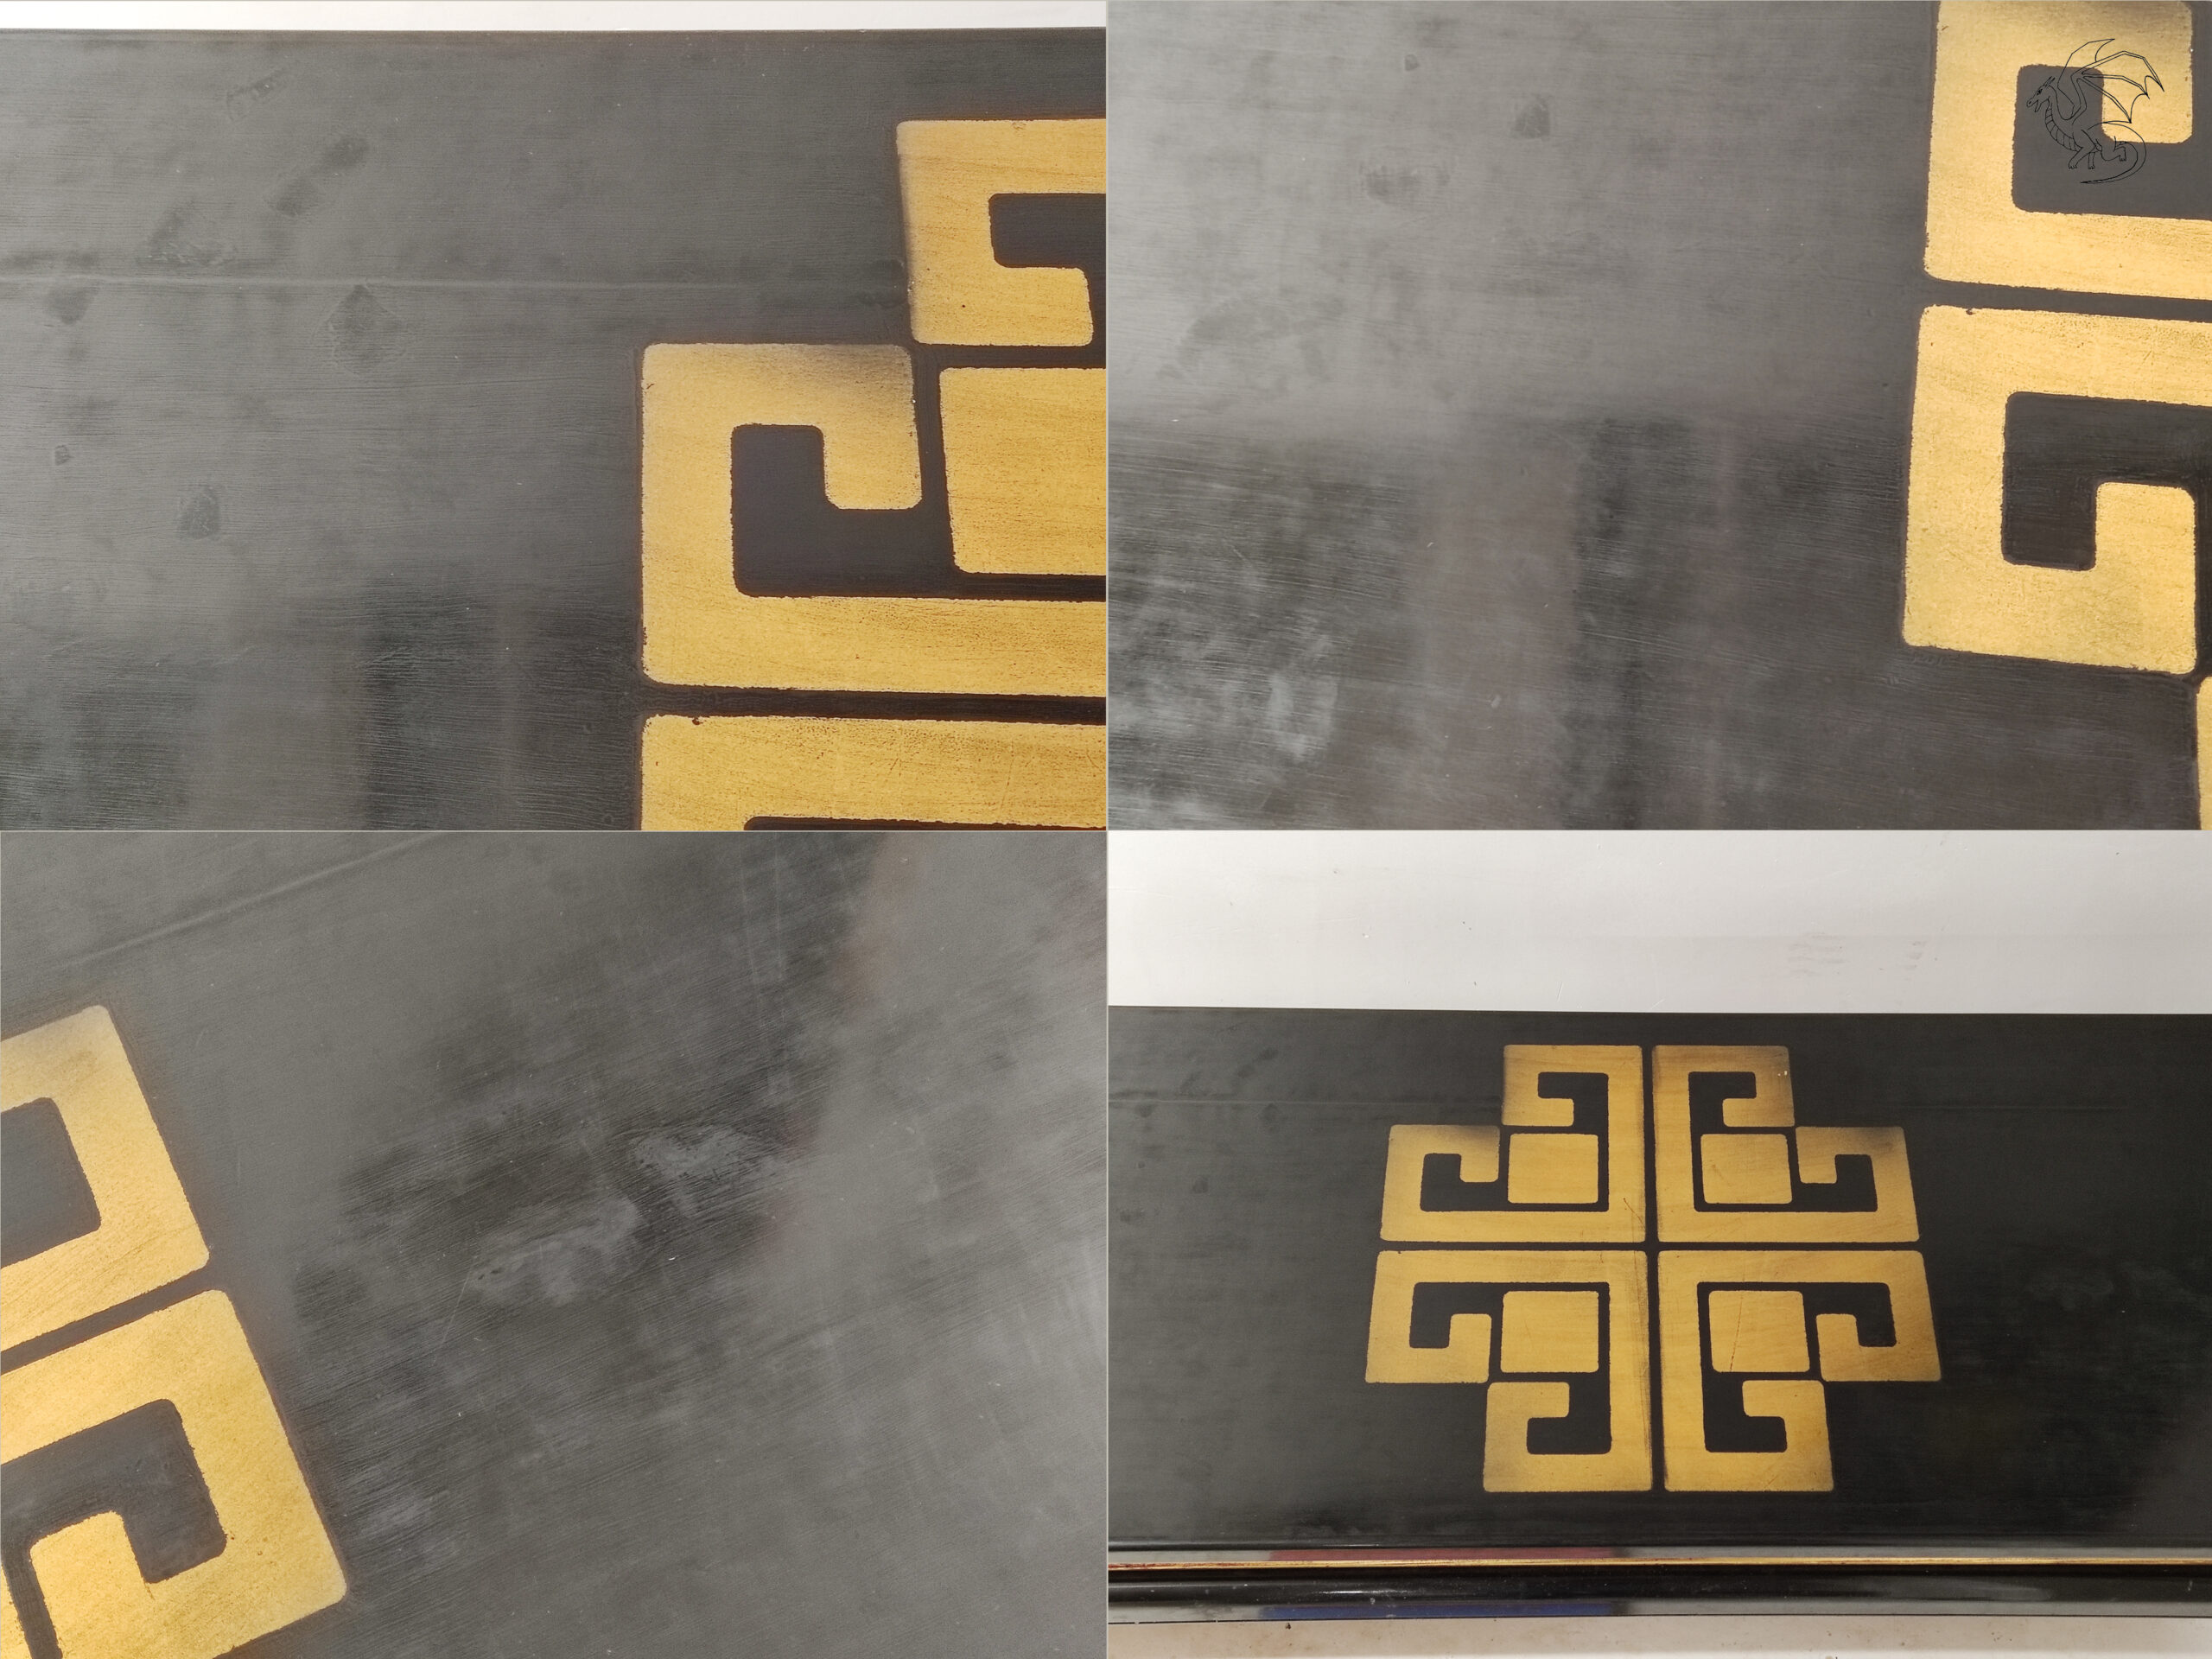
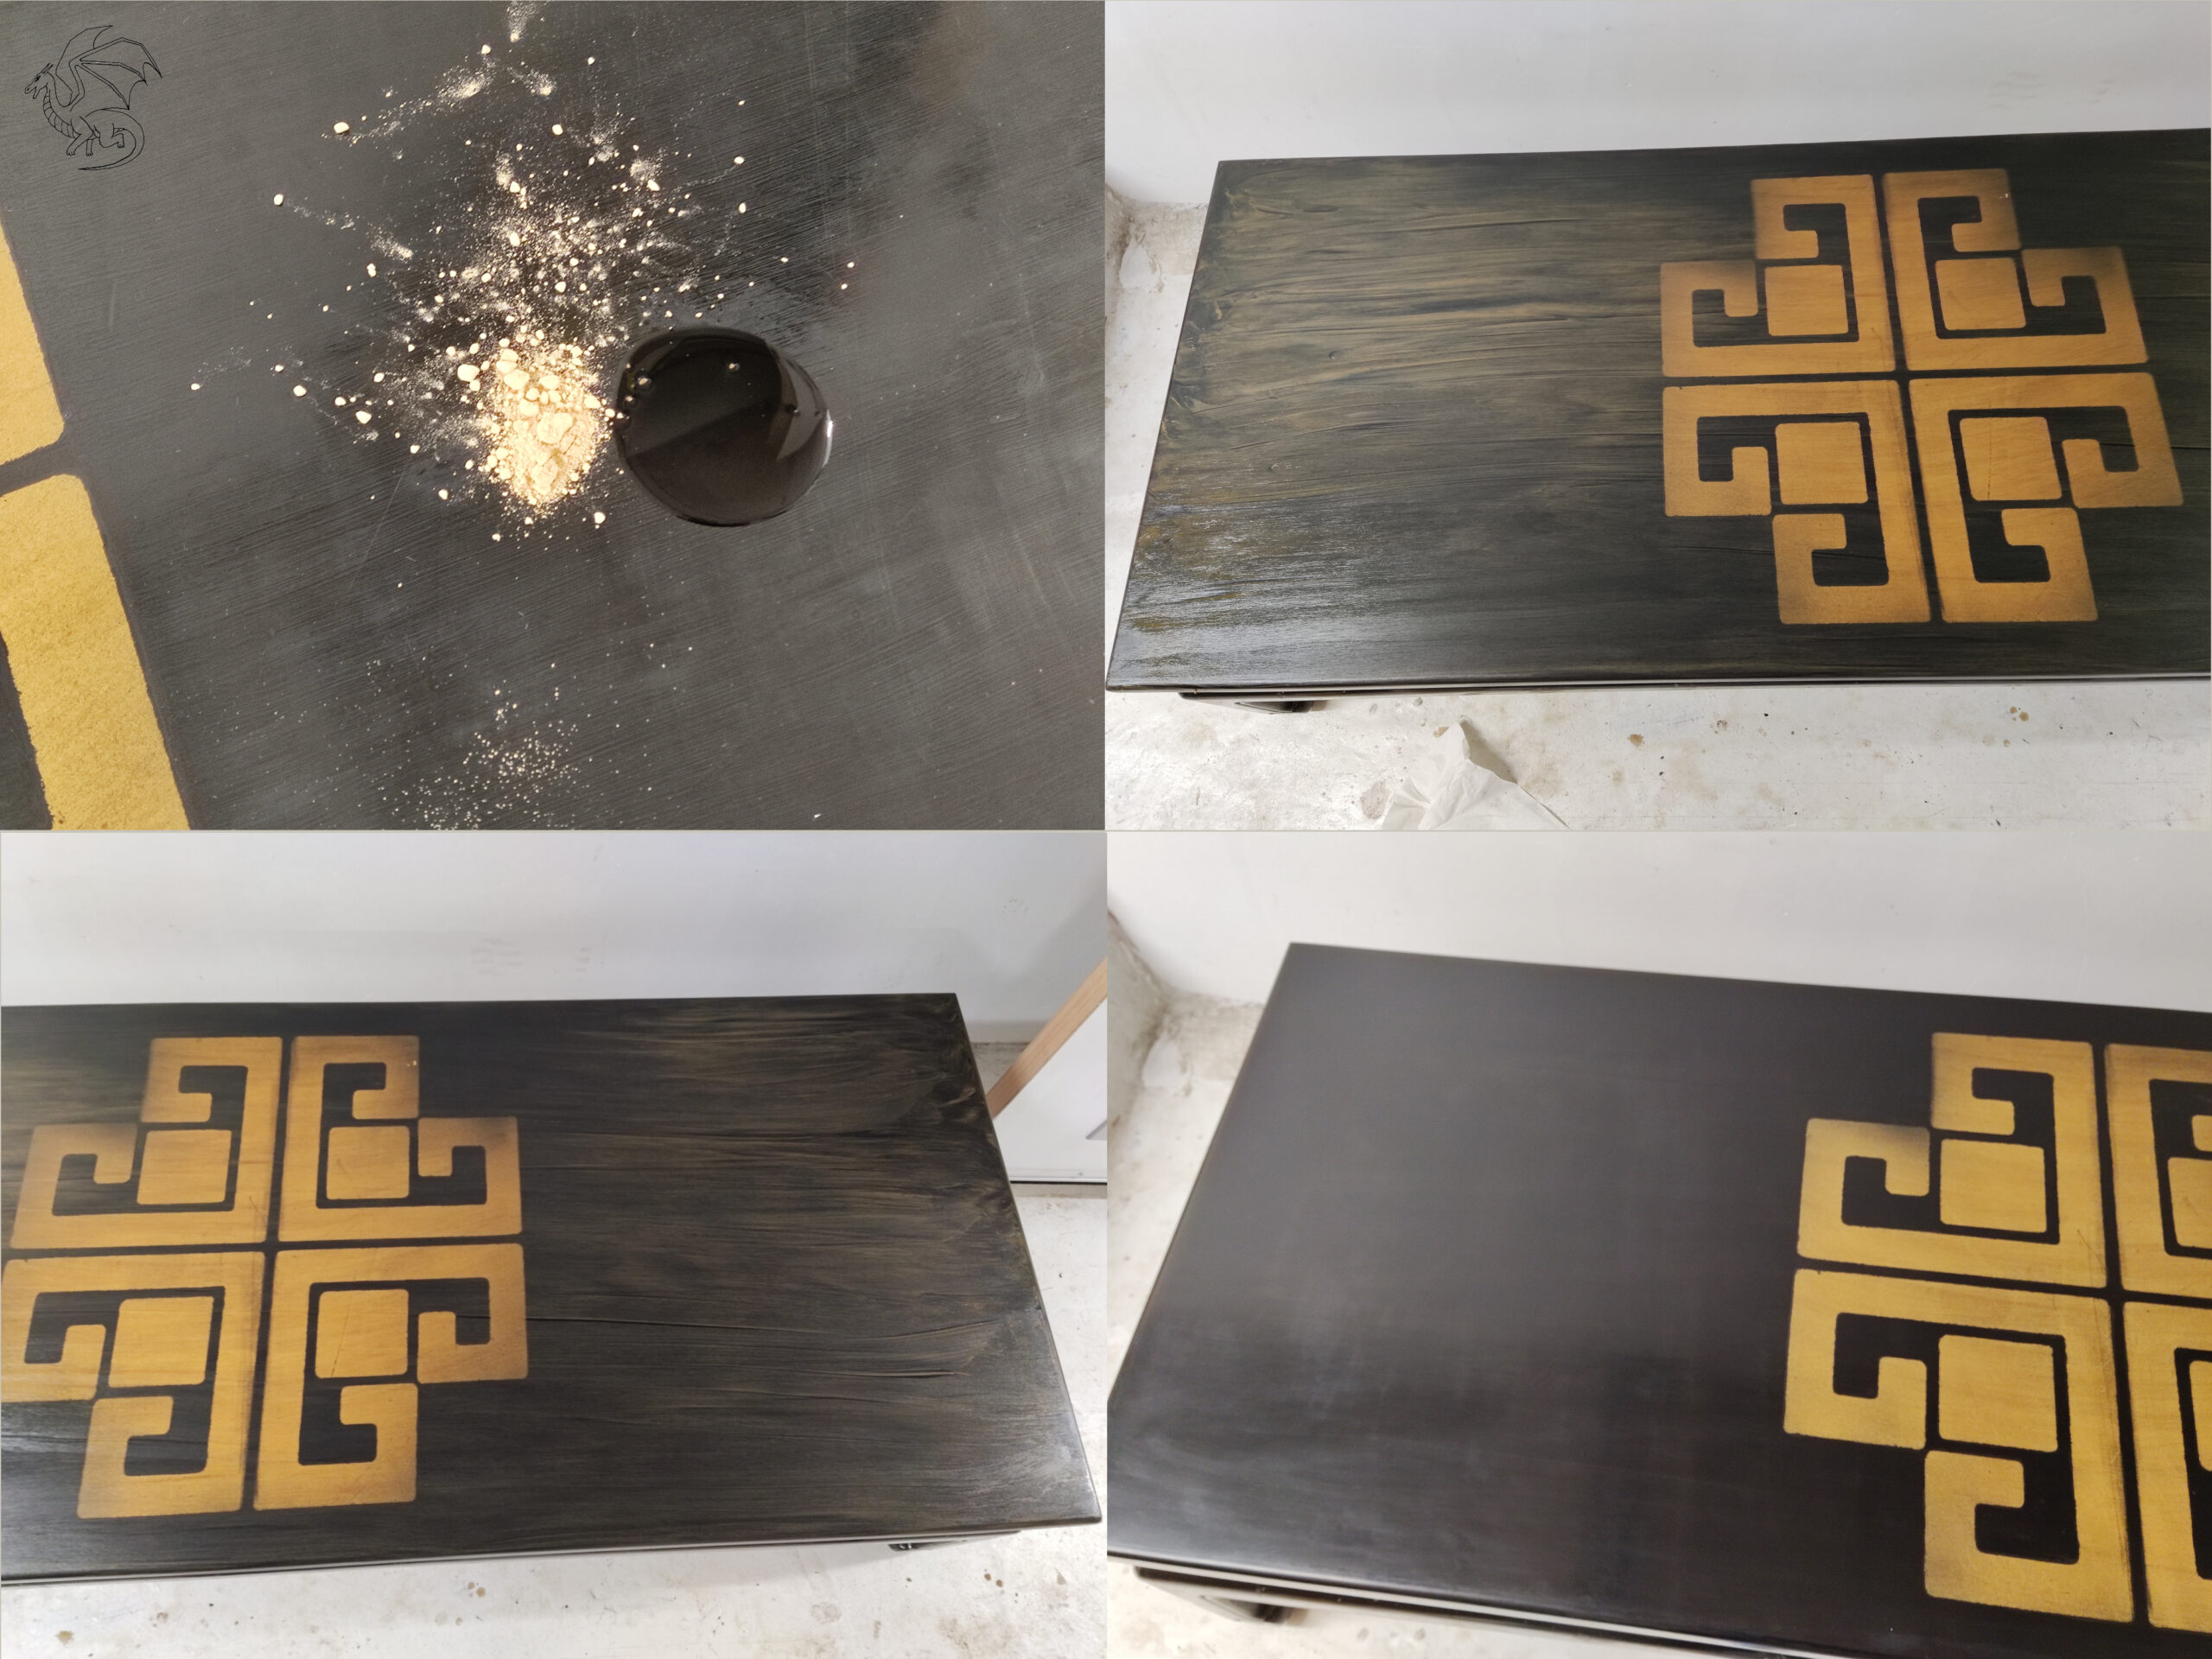
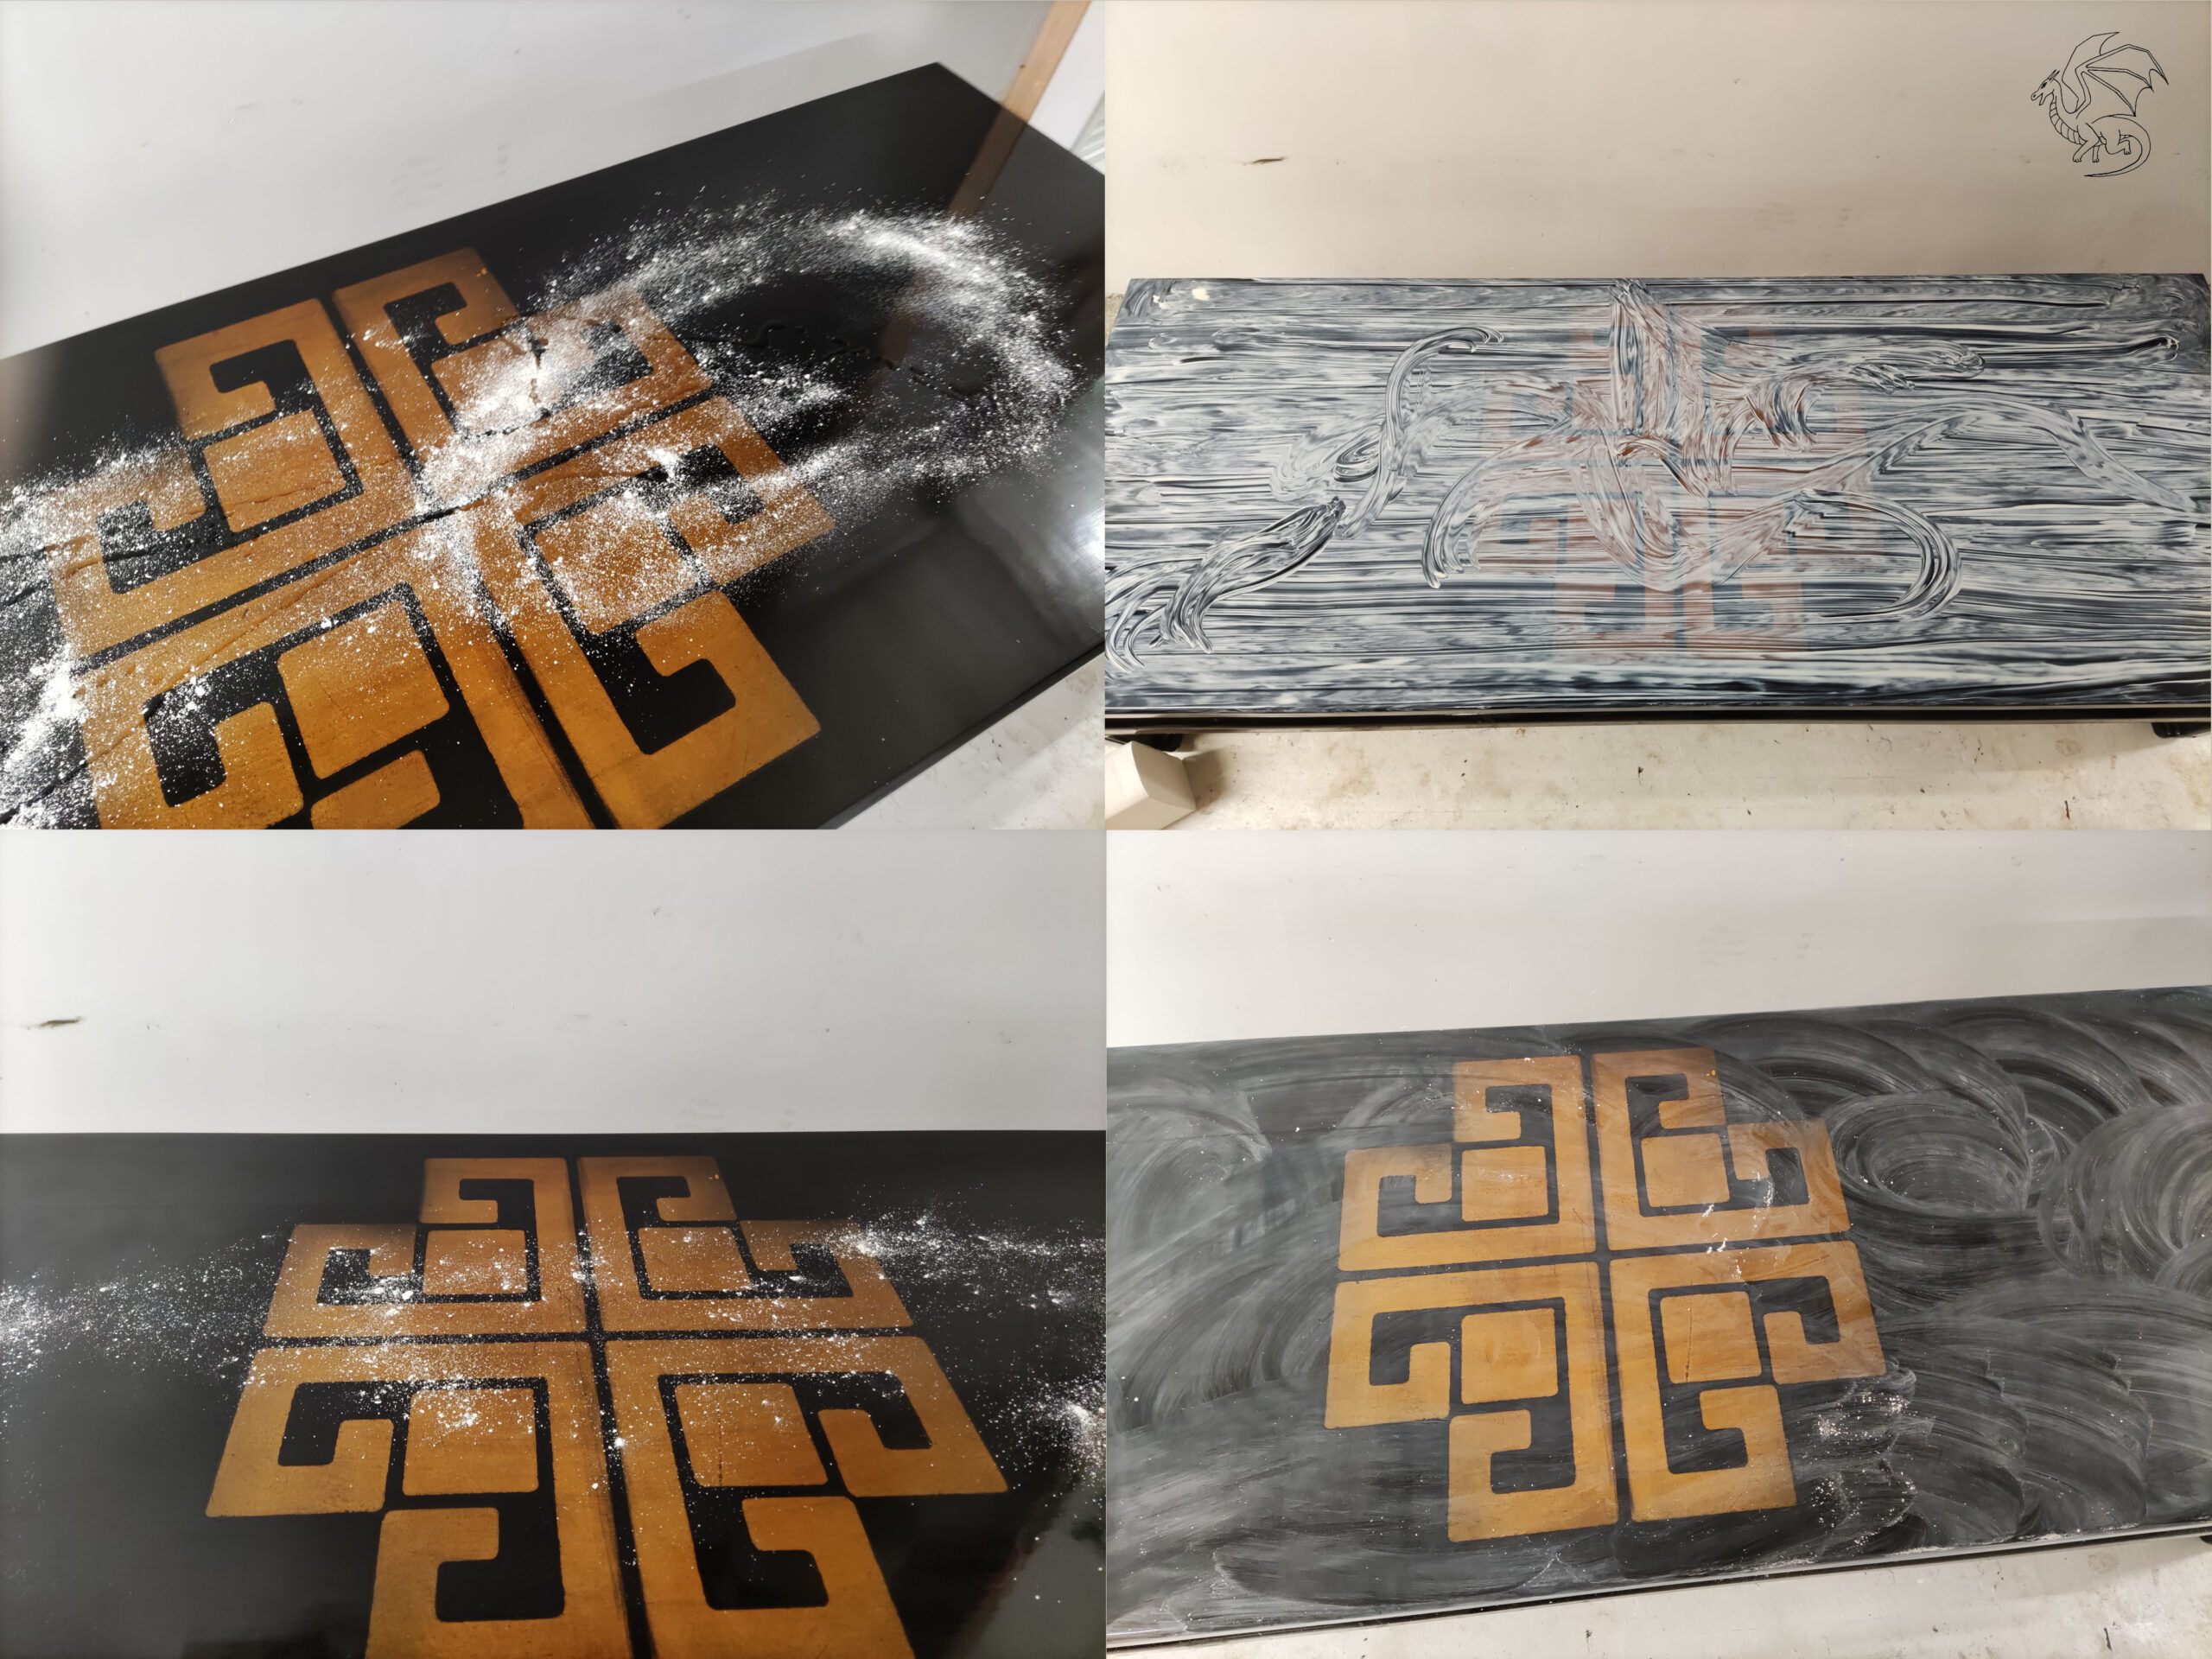
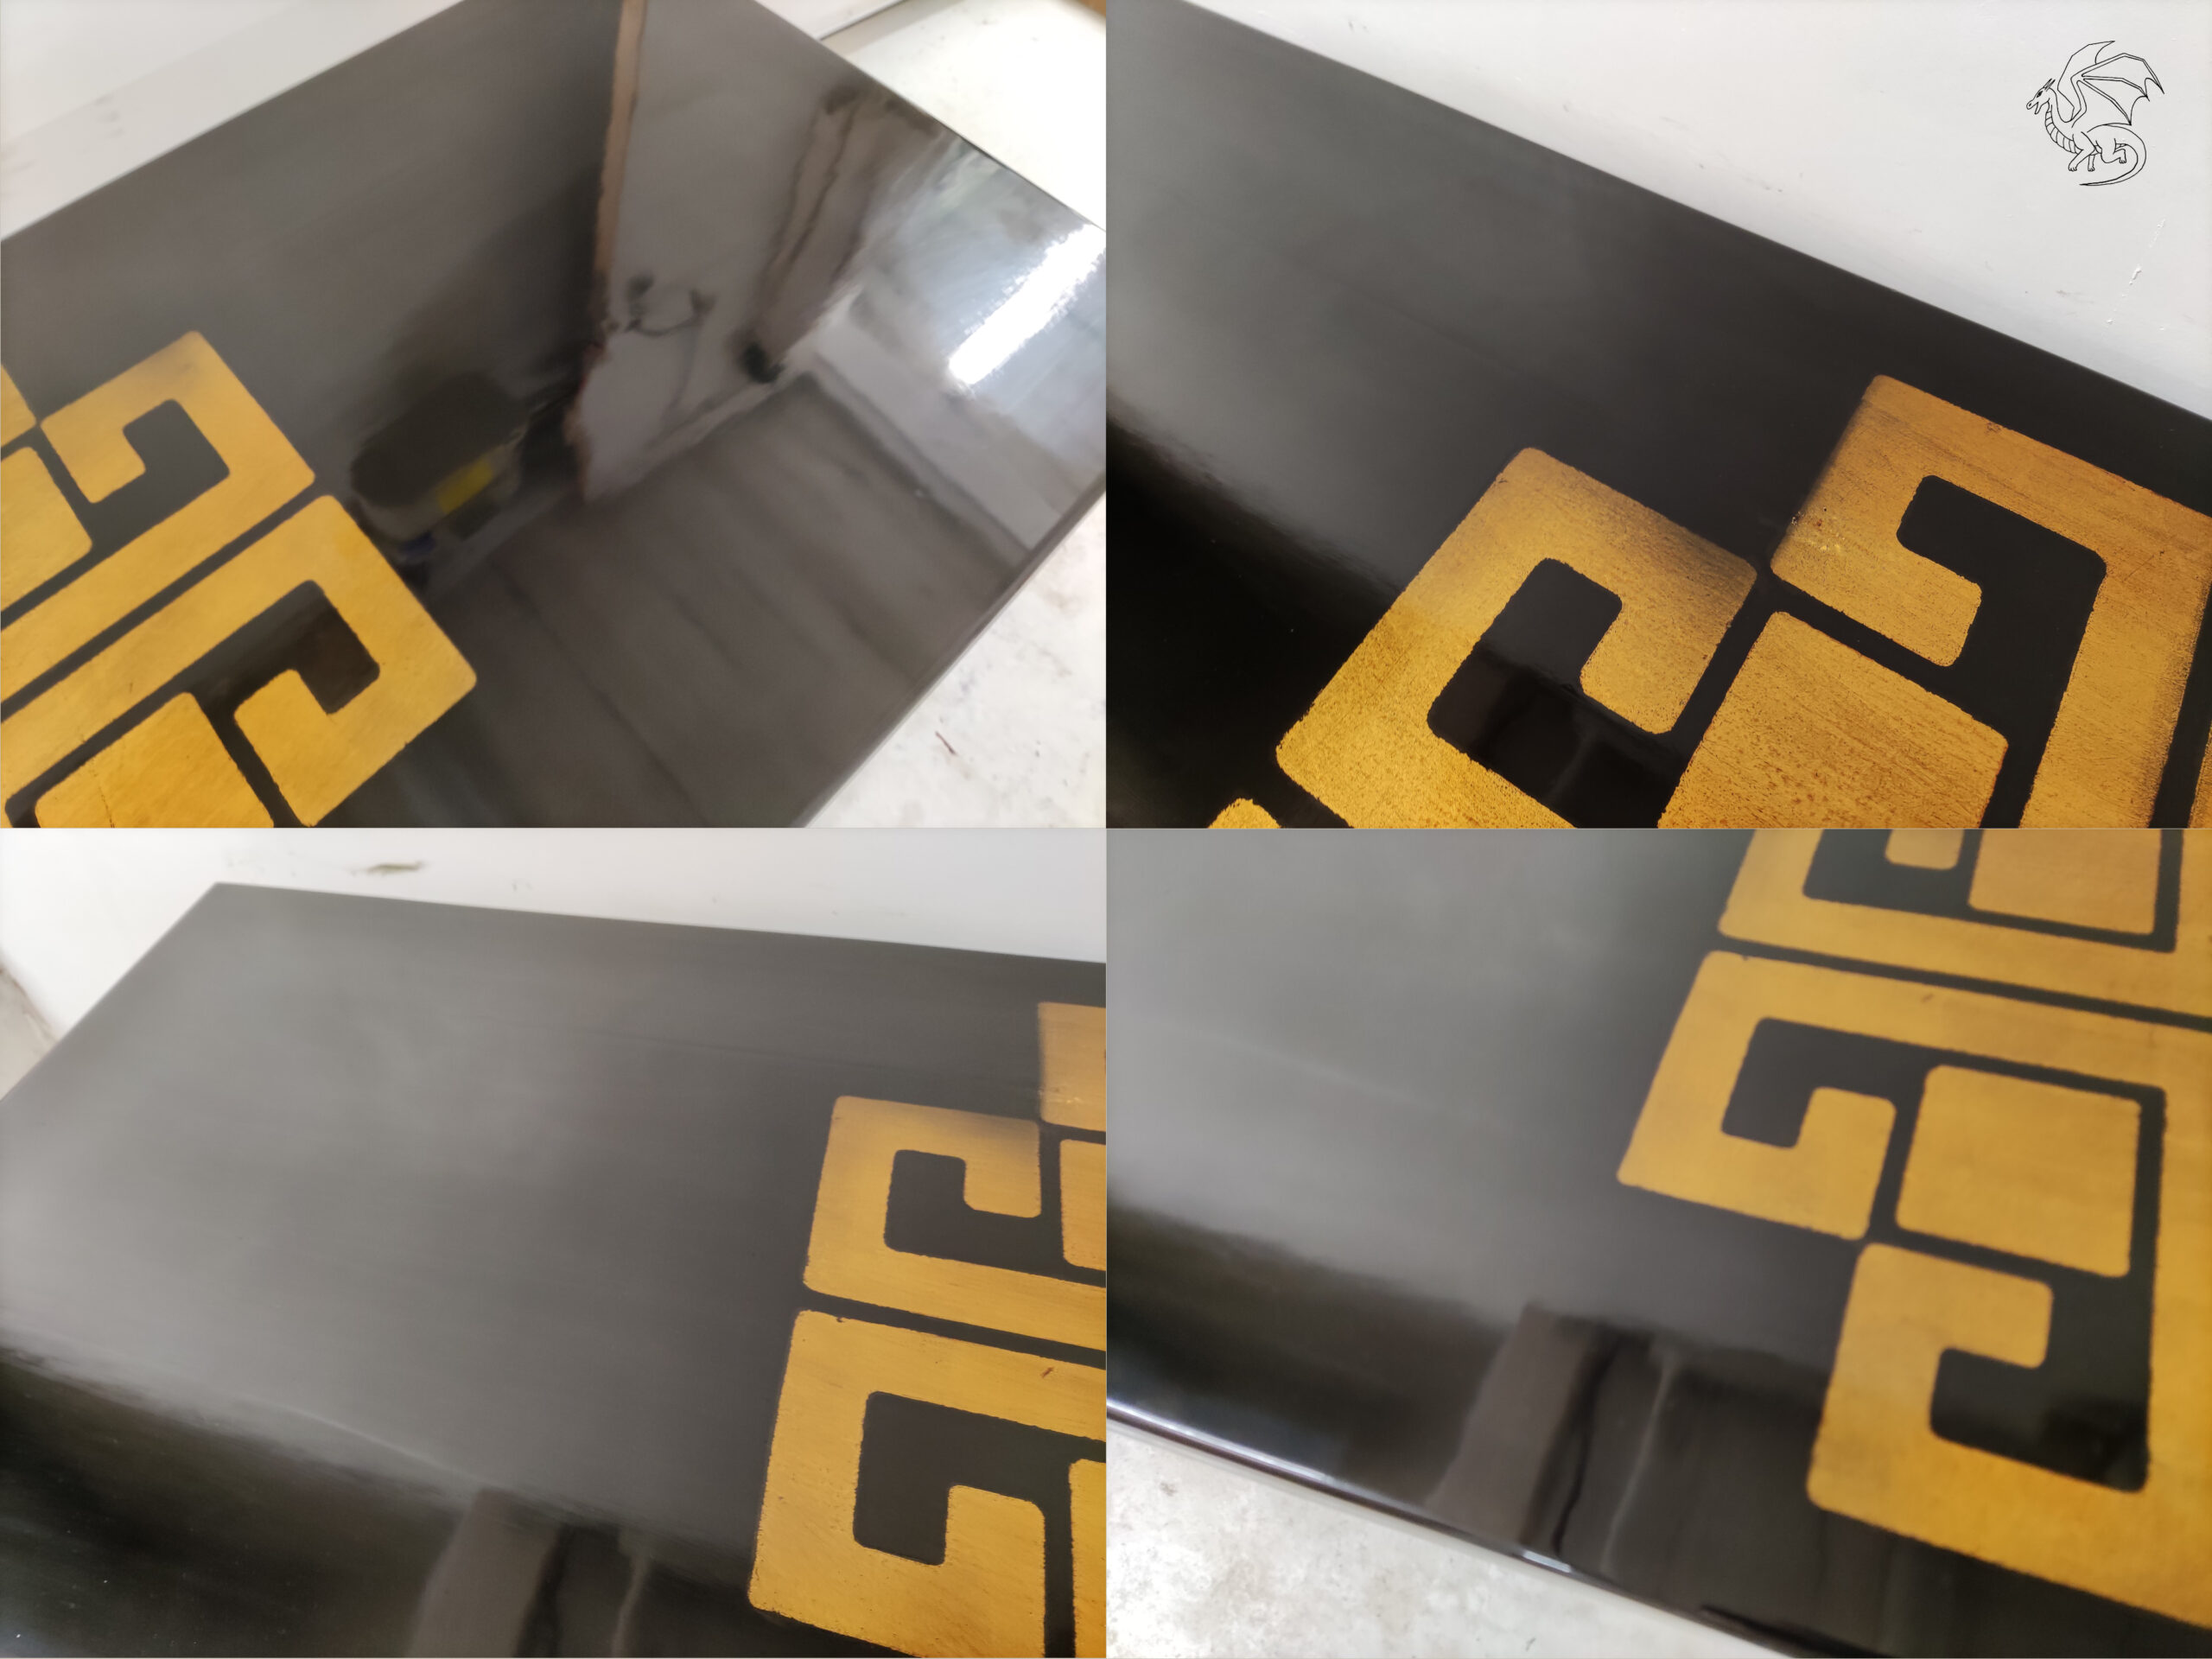
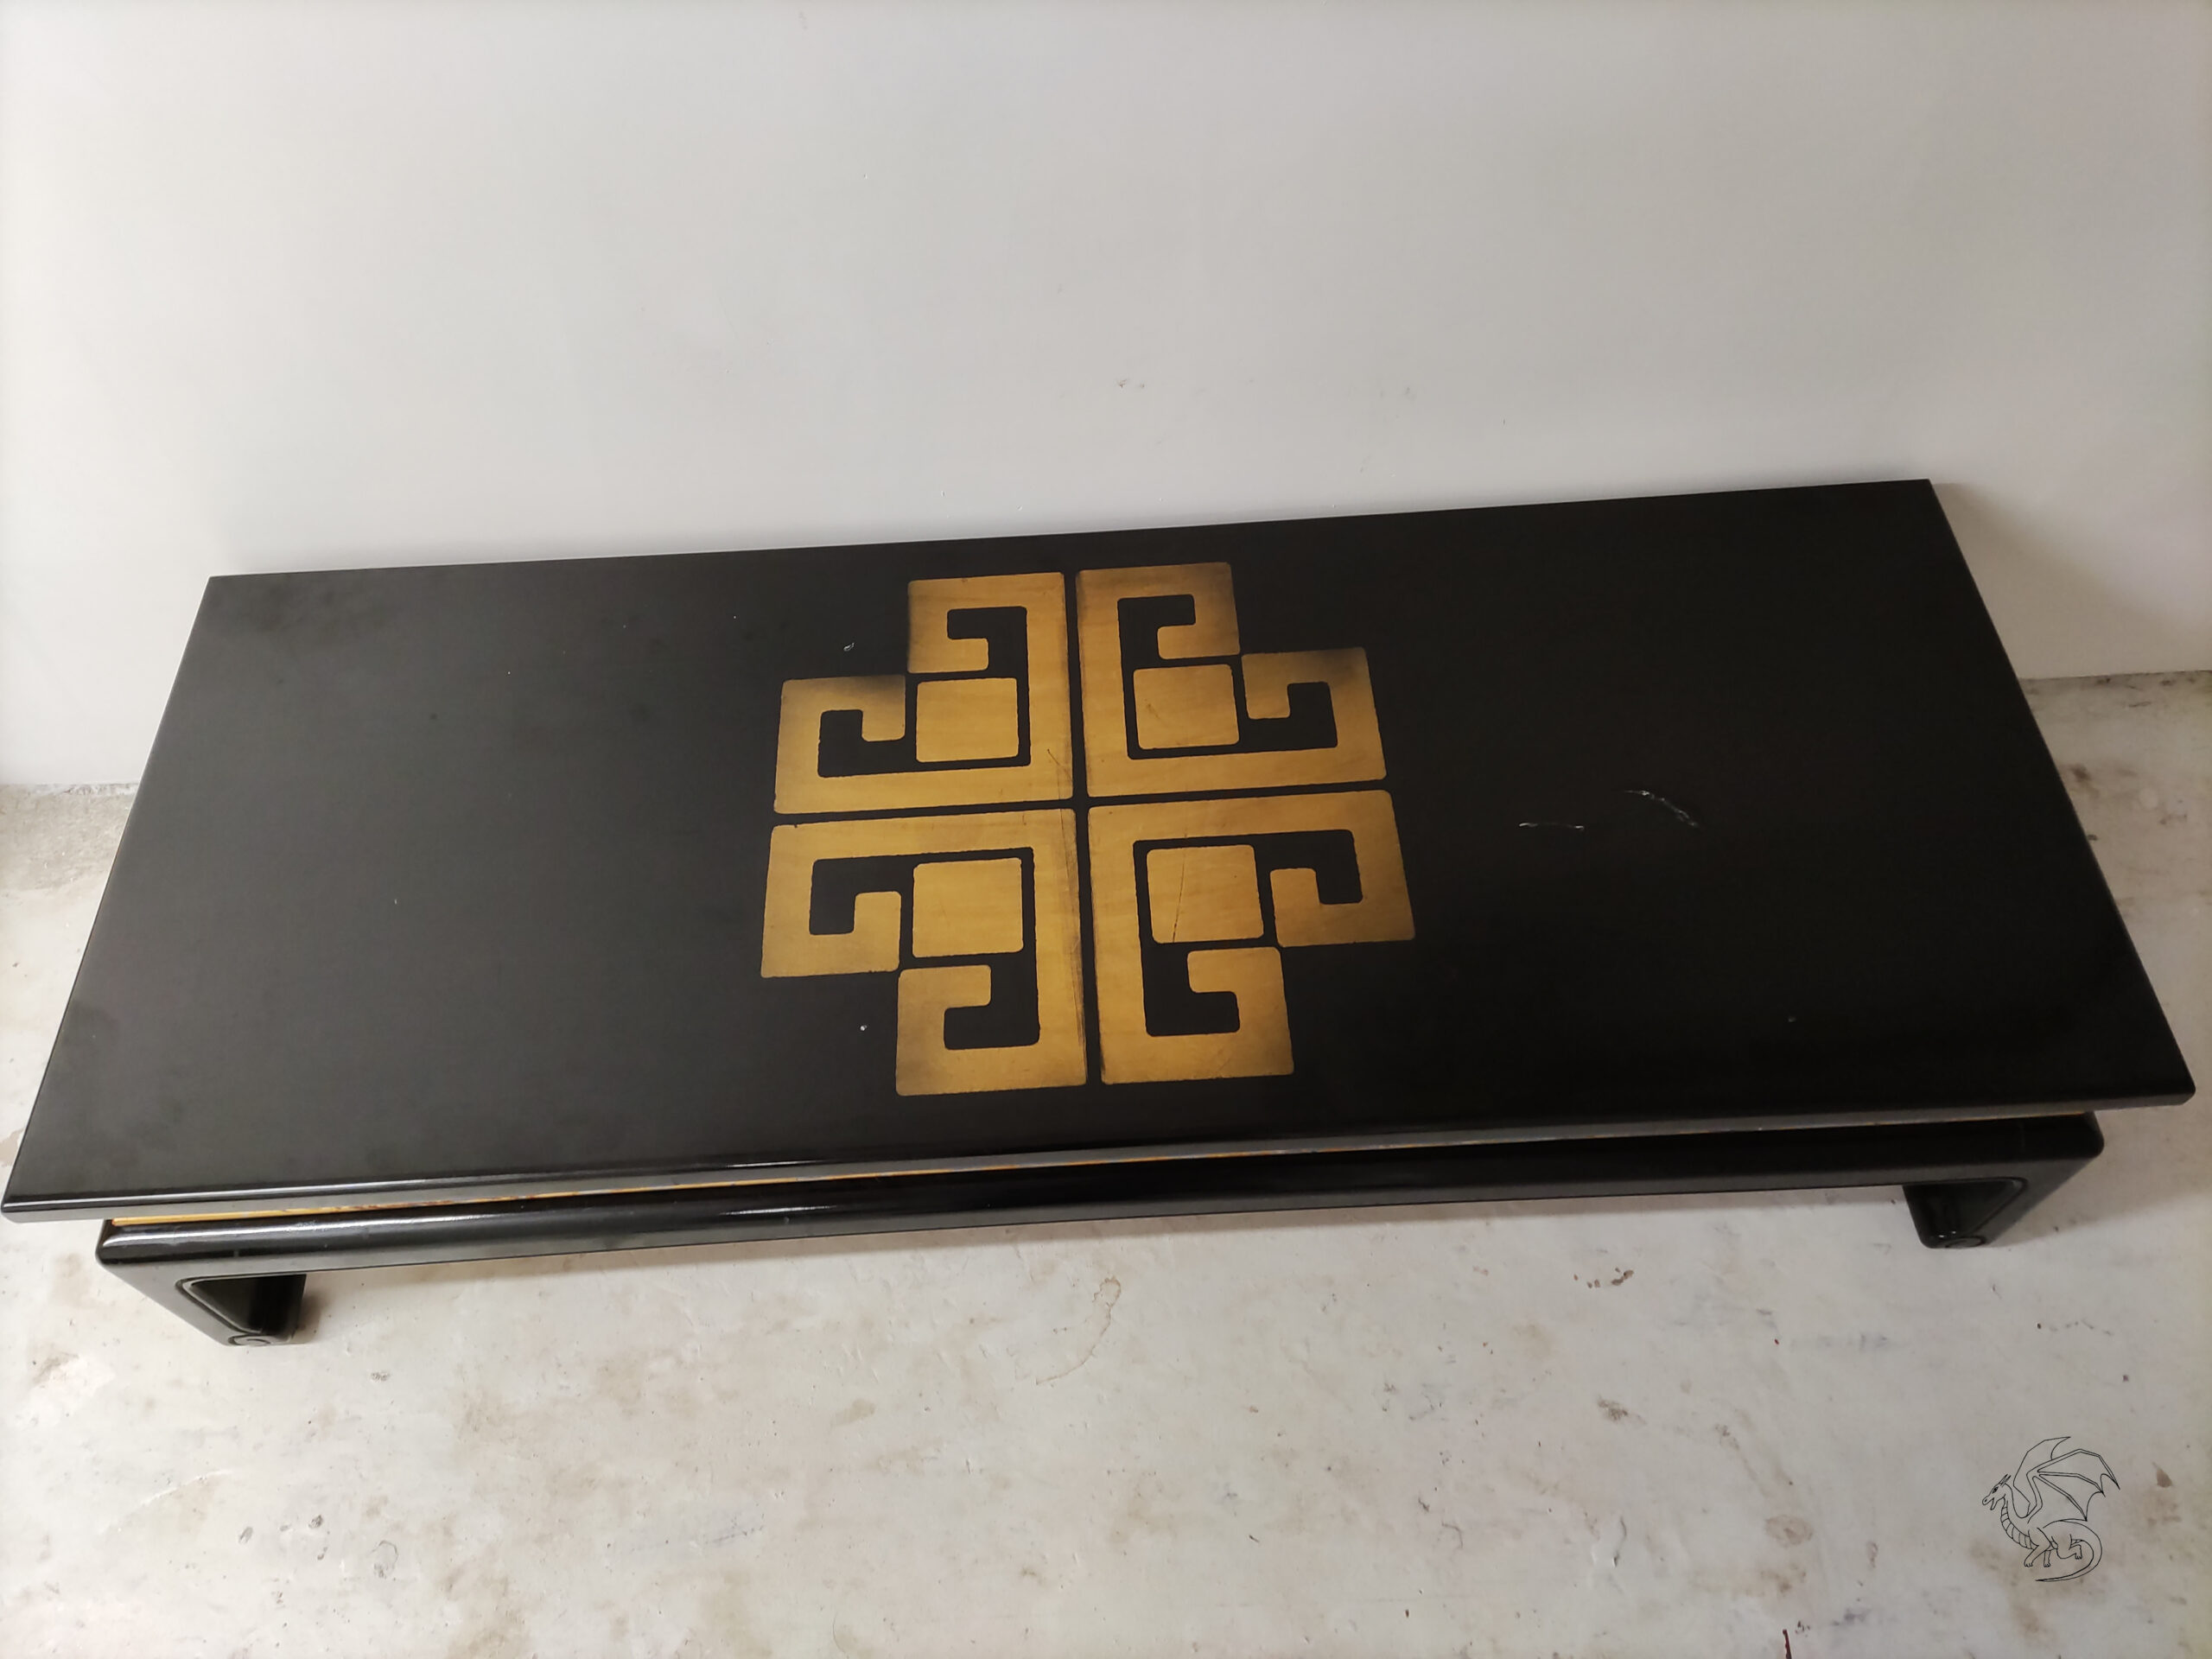
Urushi is a way of protecting objects by applying a natural lacquer that is harvested from the urushi tree. The urushiol and laccase in the lacquer polymerize with the moisture from the air.

Paper test

Paper test

There I was, just sitting in the backroom of the workshop. The air was swelteringly hot and filled with the smell of sweat from the

Gazing Far Oblate

Test – Gazing Far® tm2

It was the beginning of June and I was having a lazy Sunday afternoon with some friends. The sun was just coming through the clouds,